Crafting your very own DIY RC tank can be a rewarding and exciting project for enthusiasts of remote-controlled vehicles and model-making. Building a miniature tank that you can control and maneuver adds a unique touch to your collection and provides a fun challenge. If you’re interested in creating your own DIY RC tank, here are the steps you need to follow to bring your vision to life.
Gather Your Materials
To kickstart your DIY RC tank project, the first step is to gather all the necessary materials and tools. You will need a suitable chassis, motors, wheels or tracks, a controller, batteries, and various other components such as screws, nuts, and bolts. Make sure to choose high-quality materials that are compatible with each other to ensure smooth functioning of your RC tank.
Construct the Chassis
The chassis serves as the foundation of your RC tank, providing structural support for all the other components. You can either purchase a pre-made chassis or craft one from scratch using materials like acrylic, wood, or metal. Design the chassis to accommodate the size and weight of the other parts while ensuring stability and durability.
Install the Motors and Wheels/Tracks
Next, it’s time to install the motors that will drive your RC tank. Attach the motors securely to the chassis and connect them to the wheels or tracks. If you’re using wheels, make sure they are compatible with the motors and provide sufficient traction. For tracks, ensure they are properly aligned and tensioned to allow for smooth movement.
Add the Electronic Components
Now it’s time to incorporate the electronic components that will control your DIY RC tank. Install the receiver, speed controller, and servo motors according to the manufacturer’s instructions. Connect these components to the motors and power source, making sure all the wiring is secure and insulated to prevent short circuits.
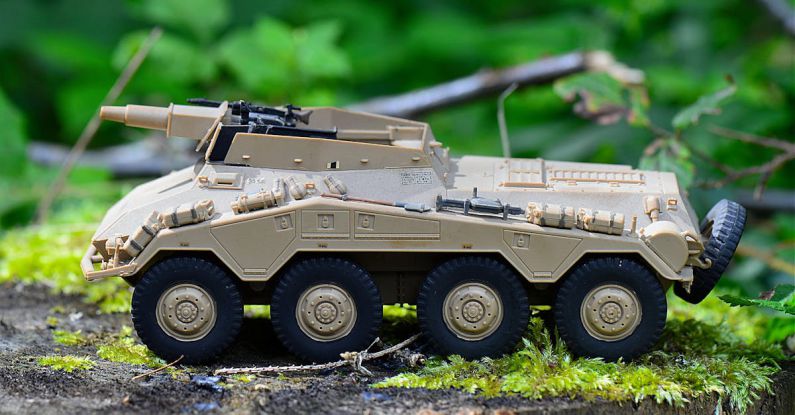
Design the Body
The body of your RC tank is where you can get creative and add your personal touch. You can design and construct the body using materials like plastic, foam, or even 3D-printed parts. Consider adding details such as a turret, gun barrel, and other embellishments to make your RC tank look authentic and visually appealing.
Paint and Customize
Once the body is complete, it’s time to paint and customize your DIY RC tank. Choose a color scheme that suits your preference and add decals or markings for a realistic finish. You can also weather the tank to give it a battle-worn appearance or add LED lights for extra flair.
Test and Adjust
Before taking your DIY RC tank for a spin, it’s crucial to test all the components and make any necessary adjustments. Check the functionality of the motors, controller, and electronics to ensure everything is working correctly. Fine-tune the steering and speed controls to achieve optimal performance.
Hit the Battlefield
Now that your DIY RC tank is fully assembled and operational, it’s time to take it for a test drive. Find a suitable location with plenty of space to maneuver, such as a park or open field. Experiment with different terrains and obstacles to put your tank to the test and showcase its capabilities.
In conclusion, building a DIY RC tank is a challenging yet rewarding project that allows you to showcase your creativity and technical skills. By following these steps and putting in the time and effort, you can create a unique and functional RC tank that will be the envy of your fellow hobbyists. Get ready to unleash your inner engineer and commander as you embark on this exciting DIY adventure.