
Robotics enthusiasts often find themselves faced with the challenge of repairing broken parts on their RC robots. Whether it’s due to wear and tear from frequent use or accidental damage, knowing how to effectively repair broken RC robot parts is essential for maintaining the functionality and longevity of these beloved machines. In this article, we will explore some key tips and techniques for repairing broken RC robot parts, helping you get your robot back up and running in no time.
Identify the Broken Part
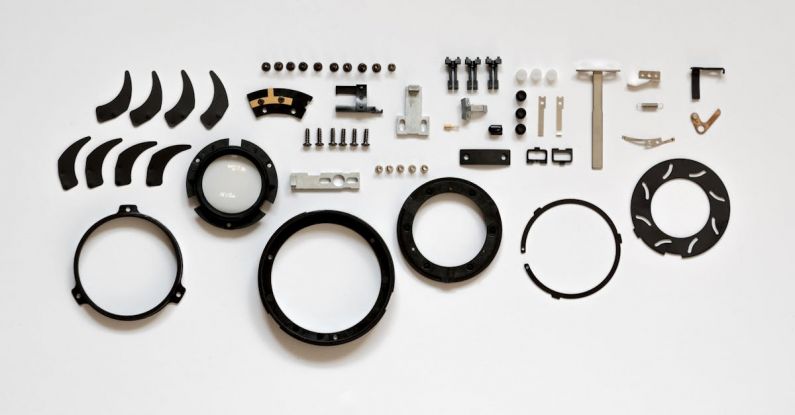
The first step in repairing broken RC robot parts is to accurately identify the damaged component. This may involve disassembling the robot to assess the extent of the damage and pinpointing the specific part that needs repair or replacement. Take note of any cracks, breaks, or missing pieces to determine the best course of action for repair.
Gather the Necessary Tools and Materials
Once you have identified the broken part, gather the necessary tools and materials for the repair. Depending on the type of damage, you may need items such as adhesive, epoxy, soldering iron, replacement parts, screwdriver, pliers, and other tools commonly used in robotics and electronics repair. Having everything on hand before you begin the repair will help streamline the process and ensure a successful outcome.
Repairing Plastic Parts
Plastic parts are commonly found in RC robots and are prone to cracking or breaking under stress. To repair plastic parts, consider using epoxy or plastic welding techniques. Epoxy is a strong adhesive that can be used to bond broken plastic pieces together, while plastic welding involves melting the plastic to create a seamless repair. Be sure to follow the manufacturer’s instructions when using these methods to ensure a durable and secure repair.
Repairing Metal Parts
Metal parts in RC robots may also require repair due to bending, warping, or breakage. For minor repairs, consider using a soldering iron to reattach broken metal pieces or solder new components in place. If a metal part is severely damaged, replacement may be necessary. Look for compatible replacement parts online or at your local hobby store to restore your RC robot to working order.
Testing and Calibration
After repairing the broken part on your RC robot, it is important to test the functionality of the robot to ensure that the repair was successful. Power on the robot and observe its movements and performance to verify that the repaired part is functioning as intended. If the robot is not operating correctly, double-check the repair and make any necessary adjustments or corrections.
Maintaining Your RC Robot
Once you have successfully repaired the broken part on your RC robot, it is important to maintain regular upkeep and care to prevent future damage. Clean your robot regularly to remove dirt and debris that can cause wear and tear on its components. Store your robot in a safe place when not in use to protect it from accidental damage. By taking proactive measures to maintain your RC robot, you can prolong its lifespan and minimize the need for future repairs.
In conclusion, repairing broken RC robot parts requires patience, skill, and the right tools and materials. By accurately identifying the damaged part, gathering the necessary supplies, and using appropriate repair techniques, you can effectively restore your RC robot to working condition. Remember to test the robot after repair and maintain it regularly to prevent future damage. With these tips in mind, you can confidently tackle any repair challenges that come your way and continue enjoying the exciting world of RC robotics.