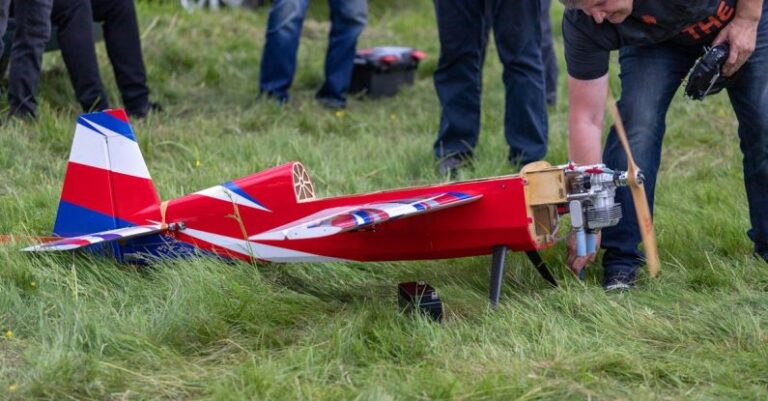
Building an RC Drone from Scratch
Drones have become increasingly popular in recent years, with enthusiasts and hobbyists alike eager to explore the world of unmanned aerial vehicles. While many people opt to purchase ready-to-fly drones, there is a growing interest in building drones from scratch. The idea of creating a custom drone that fits your specific needs and preferences can be incredibly appealing. But the question remains: can you create an RC drone from scratch?
Understanding the Basics
Building an RC drone from scratch is no small feat. It requires a solid understanding of the various components that make up a drone, as well as a good grasp of basic electronics and soldering skills. Before you embark on this DIY project, it’s important to familiarize yourself with the essential components of a drone, including the frame, motors, propellers, flight controller, electronic speed controllers (ESCs), battery, and radio transmitter/receiver.
Choosing the Right Components
When building an RC drone from scratch, one of the most critical decisions you’ll need to make is choosing the right components. There is a wide variety of options available for each part, ranging from budget-friendly to high-end performance components. Consider factors such as weight, power output, compatibility, and durability when selecting components for your custom drone.
Assembling the Drone
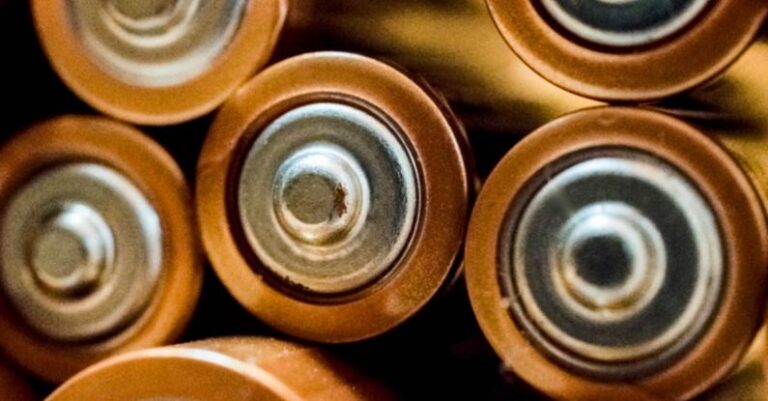
Once you have gathered all the necessary components, it’s time to start assembling your drone. Begin by attaching the motors to the frame, ensuring that they are securely fastened. Next, install the ESCs and connect them to the motors. The flight controller is the brain of the drone, so be sure to carefully follow the manufacturer’s instructions for installation and calibration. Don’t forget to mount the battery and propellers, making sure they are properly balanced for optimal flight performance.
Programming and Testing
After assembling the physical components of your drone, it’s time to program the flight controller and test the drone’s functionality. Most flight controllers come with software that allows you to configure various settings, such as flight modes, PID tuning, and transmitter calibration. Take your time to familiarize yourself with the software and make any necessary adjustments to ensure your drone flies smoothly and responsively.
Safety First
When working on your DIY drone project, it’s essential to prioritize safety at all times. Be cautious when handling sharp tools, soldering irons, and electronic components. Always double-check your connections and ensure that everything is securely fastened before attempting to fly your drone. Additionally, be mindful of local regulations and guidelines regarding drone operation to avoid any legal issues.
The Thrill of Flying Your Custom Drone
Once you have successfully built and tested your RC drone from scratch, the real fun begins – taking to the skies and experiencing the thrill of flight. Flying a custom drone that you built yourself can be an incredibly rewarding experience, offering a sense of accomplishment and pride. Experiment with different flight modes, practice your piloting skills, and capture stunning aerial footage with your custom-built drone.
In conclusion, while building an RC drone from scratch may be a challenging and time-consuming endeavor, the sense of satisfaction and creativity that comes with creating a custom drone can make it all worthwhile. With patience, attention to detail, and a willingness to learn, you can indeed build your very own RC drone from scratch and enjoy the excitement of DIY drone building.

